Wiggle Out of Wasting Food with Worm Composting
An average American household throws away around 650 pounds of organic trash each year, most of which gets dumped in landfills. In fact, roughly 60% of our landfills are made up of this type of waste, contributing an enormous amount of methane gas emissions that are nearly 75% more harmful to global warming than CO2!
However, a growing number of planet-lovers everywhere are preventing their organic waste from harming the planet by transforming it into a fertilizing material that heals the soil with easy-to-create backyard composting systems. But you don’t need to live in a house, and you don’t need a backyard to join the composting craze. With the help of a vermiculture system, you can reduce your food waste naturally by harnessing the ancient magic of worms from inside your home.
Long dubbed “nature’s garbage disposal,” worms have long played an incredibly important role in the circle of life. For hundreds of millions of years, they’ve been toiling away, breaking down decomposing organic material, and returning nutrients back into the soil. So if you live in an apartment building and want a sustainable way to dispose of food scraps, a worm composting system can help turn your worthless green garbage from the kitchen table into valuable “black gold” for the patio garden.
The Joys of Worm Composting
With a vermiculture bin, you can take a page out of Mother Nature’s playbook by utilizing the digestive magic of special little worms that essentially eat your garbage and poop out pure plant food. Worm composting, also known as vermicomposting or vermiculture, is a composting method in which special worms are used to speed up and assist with the natural decomposition process of organic material.
A personal worm composting system only requires about 30 minutes of maintenance per week to completely turn your fruit & veggie scraps into a nutrient-rich soil amendment that plants love in 3 to 6 months. The most expensive store-bought bin usually shouldn’t run you more than $150, but you can also make your own worm composter for around $30 with a simple online search for instructions.
They are self-contained systems that are fairly compact, inexpensive, and easy to maintain, making them a perfect composting option for apartment dwellers to recycle their food waste rapidly into a nearly odorless, high-quality compost soil and fertilizing liquid for potted plants or patio gardens. So if you’re looking to reduce personal landfill use, but don’t have the space for a backyard composting bin, you can still strike gold with your table scraps. Just open up a can of worms!
Choosing the Right Bedding
Whether you make one on your own or purchase it pre-made, the main objectives for the aerobic decomposition process to occur effectively inside your worm composting system to work effectively are to provide proper ventilation, drainage, and darkness. Make sure you wash your container thoroughly before adding the initial contents when you get started. In order to create a new home that will keep your special little helpers happy, it’s important to consider what elements they need to survive and thrive: moisture, air, darkness, warmth, and food.
To start your bedding, lay down a nice layer of shredded paper products on the bottom of your bin’s inner basin as bedding. Small strips and pieces of high carbon materials, such as used paper products, are often used. Shredded up pieces of old office or notebook paper, cardboard, newspaper strips, napkins, paper towels, or paper egg cartons, for example, are all good materials to use. Dead leaves or straw can also be used, but doing so can invite some unwanted outdoor critters inside your home.
Once a layer of bedding has been laid down on the bottom of the basin, you can now begin filling your compost bin with garden soil while slowly adding just enough water to dampen the mix. Take your time during this process, and fight the urge to drop your worms in until you get the soil mixture just right – not overly dry and not overly wet. Do this by carefully adding as much soil or water as needed until the bin is ¾ full with a perfectly damp mixture resembling the wetness of a wrung-out sponge. This is an optimal moisture level that you should try to maintain at all times for the best results.
Finding the Right Worms for the Job
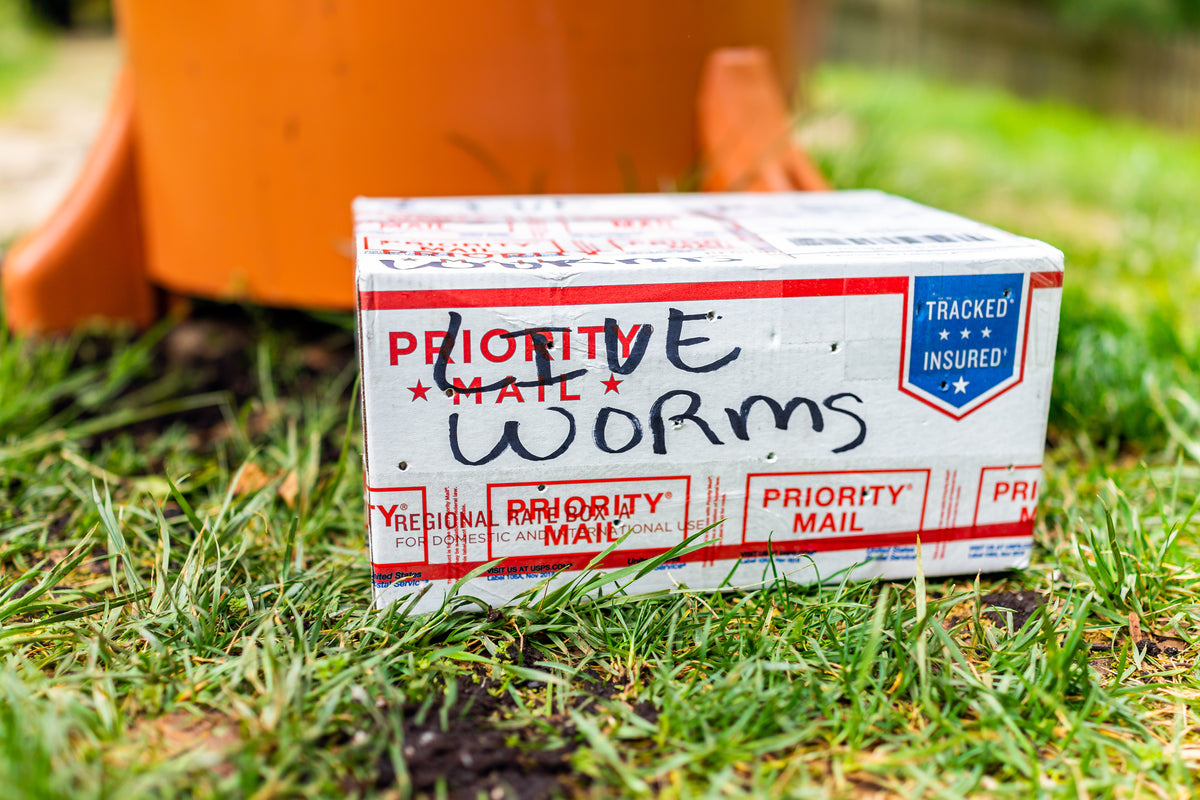
Don’t worry if you can’t find a nearby bait shop to purchase your worms at. Composting worms are so popular nowadays that you can simply just order them online and have them shipped directly to your home. And while ordinary garden earthworms are certainly capable of getting the job done, Red Wiggler worms (eisenia fetida) are the most highly recommended for worm composting for many reasons. Red worms remain perfectly content living within the small quarters of a composting bin, tending not to burrow too deep into the soil mixture like earthworms like to do. They are also incredibly quick & efficient at consuming and digesting decaying organic material and are able to breed & flourish in various types of bedding material.
Since a pound of red wiggler worms can eat half of their weight in organic material per day, the weight of the food waste you will be introducing to your composting bin will help you determine the quantity of worms you will need for it to succeed. It is important to calculate how much to make since too little food will starve your worms, and too much will leave uneaten rotten waste that can result in a fly infestation that will jeopardize the whole batch. Once you add your red wigglers to your bedding mixture, allow them to explore and get acclimated to their new digs for a day before starting their feast.

Feeding Your Worms the Right Food
By simulating its role in nature in a vermiculture bin, you will be able to reap the benefits of the worm’s magnificent transformative magic by feeding them your organic waste and kitchen scraps that would otherwise be rot away in a toxic landfill. Worms can consume and digest any organic matter; however, it is important to know what you should or shouldn’t be feeding order to keep your helpful little critters comfy & content.
As far as the yummy stuff that your red wigglers love to munch on, worms do really well with just about any type of raw vegetables, fruits, and other organic materials, but you’ll want to be a little careful with citrus. They can handle some orange rinds or lemon peels, but they don’t do well when the acid levels get too high. So it’s best to have variety in your worm food, making sure that citrus fruits don’t account for over 1/5 the contents of the total that you add. In time, you’ll start to discover the types of food they will or won’t eat.
Avoid putting any animal by-products into your bin, as they take longer to breakdown and can attract pests that can cause an infestation that will put your batch at risk. This includes meats, bones, fat, oils, and dairy products. Also, if you have a sensitive nose (or guests in your home), you may want to avoid onions and broccoli as both tend to produce a strong and uninviting odor.
Worms like to work their magic undisturbed and in the dark, so collect your waste each day (chopped into small pieces, if possible) and feed once a week. Just gently create a hole in the mix with a trowel, place your scraps inside, and fill it back up with a top layer of bedding. During each feed, you may want to pay attention to and remove any scraps long left uneaten. Your worms may not particularly like that type of food, or you may just need to cut it up into smaller pieces to help them consume it in the future. Your little guys may be a bit shy to eat at first, so start with smaller amounts of food and gradually increase until they are comfortably eating around half of their weight in waste. One pound of worms in a healthy bin should process 3 pounds of waste per week or 12 pounds per month.
Waste You Can Place in Your Bin:
- Vegetable scraps
- Fruit scraps
- Bread
- Nutshells
- Eggshells
- Coffee grounds and paper filters
- Tea bags (paper)
- Paper towels/napkins
Waste You Should Keep Out of Your Bin:
- Meat and bones
- Dairy Products
- Fats and cooking oils
- Treated wood
- Dog and cat poop
- Weeds
- Diseased plants
- Grass clippings sprayed with pesticides
- Plastics and metals
The 2 Methods of Harvesting Compost
After properly feeding your red wigglers well and maintaining a healthy bin for them over the past 3-6 months, your bedding mixture has completely turned into a fertile batch of nutrient-rich compost. It’s finally time to reap the rewards of your worms’ hard work! There are two commonly used methods for harvesting compost, and which method is best for you will depend on the size (or type) of system you have.
Dump Method
For most small indoor vermiculture systems, this quick & easy method is the most efficient way to harvest your finished compost. Simply dump the contents of your bin upside down on a sheet of paper or plastic under direct sunlight or a bright lamp. The worms, being sensitive to light, will burrow to the bottom of the pile to the non-composted top layer of bedding within a few minutes. At this point, you can easily collect the finished compost off the top of the pile. If you plan to use the compost on indoor plants, you will want to remove any loose worms and unfinished food scraps. This is less important if you will be using it on outdoor plants. Once you’ve collected all your compost, now is a good time (for record-keeping) to count and weigh your worms before placing them back inside the bin with fresh bedding.
Lure Method
If you are using a larger sized bin that would make physically dumping the container and its contents upside down would be a rather difficult or messy task, you can use the lure method to harvest your precious compost. To do this, move the finished batch of compost and worms all over to one side of the bin. In the now vacant side, add fresh bedding and food. As long as you add only to the side with new bedding, most of the worms will eventually migrate over to that side in search of more organic scraps to consume. After a couple of weeks, remove the lid and shine a bright light into the bin. This will make the light-sensitive wigglers burrow away from the light source, allowing you to collect the compost a layer at a time. Once this is done, just add fresh bedding and food on that side, and the process begins anew!
Some vermiculture systems that you can buy (or build) use stackable trays throughout the composting process as a built in luring method. As each tray in the bin fills with compost, another tray with fresh bedding and food is placed above it, luring the worms to migrate upward into the uppermost tray. Fresh completed compost can then simply be collected by pulling out the bottom-most trays.
Take a Whiff of Your Worm Tea
During the composting process, you will also find collecting at the bottom of your basin or drainage bin, a dark liquid called worm leachate. If you find that the leachate has a foul smell, you can dump it out away from any plants. But if you don’t detect a bad smell, this highly-concentrated super liquid can be diluted with water at a ratio of 1 part leachate to 10 parts water. It’s suggested that worm leachate only be used on non-edible plants as it is not a direct by-product of worm digestion and may contain pathogens that risk entering your body when you consume the plant.
Troubleshooting Composting Concerns

Worm compost, like any other high-quality fertilizer, can be worked into or sprinkled on top of the dirt surrounding your plants to facilitate a more robust and healthier growth. It promotes the production of beneficial bacteria and fungi while enriching the soil around your plants to retain more moisture and suppress disease and pests.
Smelly Compost Bin
If your compost bin starts to give off a bad odor, sift through the bedding mix and remove any chunks rotting food. While worms sometimes let certain foods sit and soften before they eat it, they typically should finish the scraps before it gets moldy. In the future, try cutting up your food into smaller pieces to help your little wigglers consume and digest it better.
Another your bin might be giving off a foul stench could be due to excessive moisture levels. Rotting food creates additional moisture, and too much of it could waterlog your bedding and give off a bad smell. Your worms won’t do well in a bin that is too damp. So if you have this problem, add more dry organic material, such as cardboard and paper bedding, to soak up the excess water until the moisture is back to optimal levels resembling a wrung out sponge.
Fruit Flies
Exposed food scraps are magnets to fruit flies. Make sure to completely cover your kitchen scrap worm snacks with an ample layer of bedding during weekly feedings. You can even place moist paper strips over the food hole for good measure, prior to covering it with a layer of bedding.
Insect Infestation
Your helpful little wigglers aren’t the only critters that like the warm, dark, and dank environment in your bin and bedding. And if these unwelcome invaders decide to make a home in your bin and you find insect eggs or other foreign creatures lurking in your mix, it may be best to harvest your worms and castings, dump out the remaining contents, and start all over. Remember to thoroughly clean your bin before creating a new batch of bedding and placing your worms back inside.
Worms Escaping the Bin
While it’s not uncommon to have a few adventure seekers leaving the comforts of home from time to time, if you find an unusually high number of worms trying to make a break for it, it is probably a sign that there may be trouble in paradise. Check your bin to make sure that the living conditions are still suitable to their liking. Remember, worms like their bedding warm & damp. So if there has not been any drastic change in the temperature of your home, check to make sure the moisture level of the bedding to make sure that it is still ideal. If you discover that it is too wet, add more bedding; if it is too dry, slowly add water until the mixture is just right. You also want to check beneath the top layer of bedding to make sure there are no insect eggs or larvae that would indicate a possible infestation.
Comments (0)